
Aloevera Melt & Pour Soap Base
Aloe Vera Melt & Pour Soap Base - Aloevera ke Fayde - Aloevera Juice ke Fayde - Soap Base - Soap Base Price
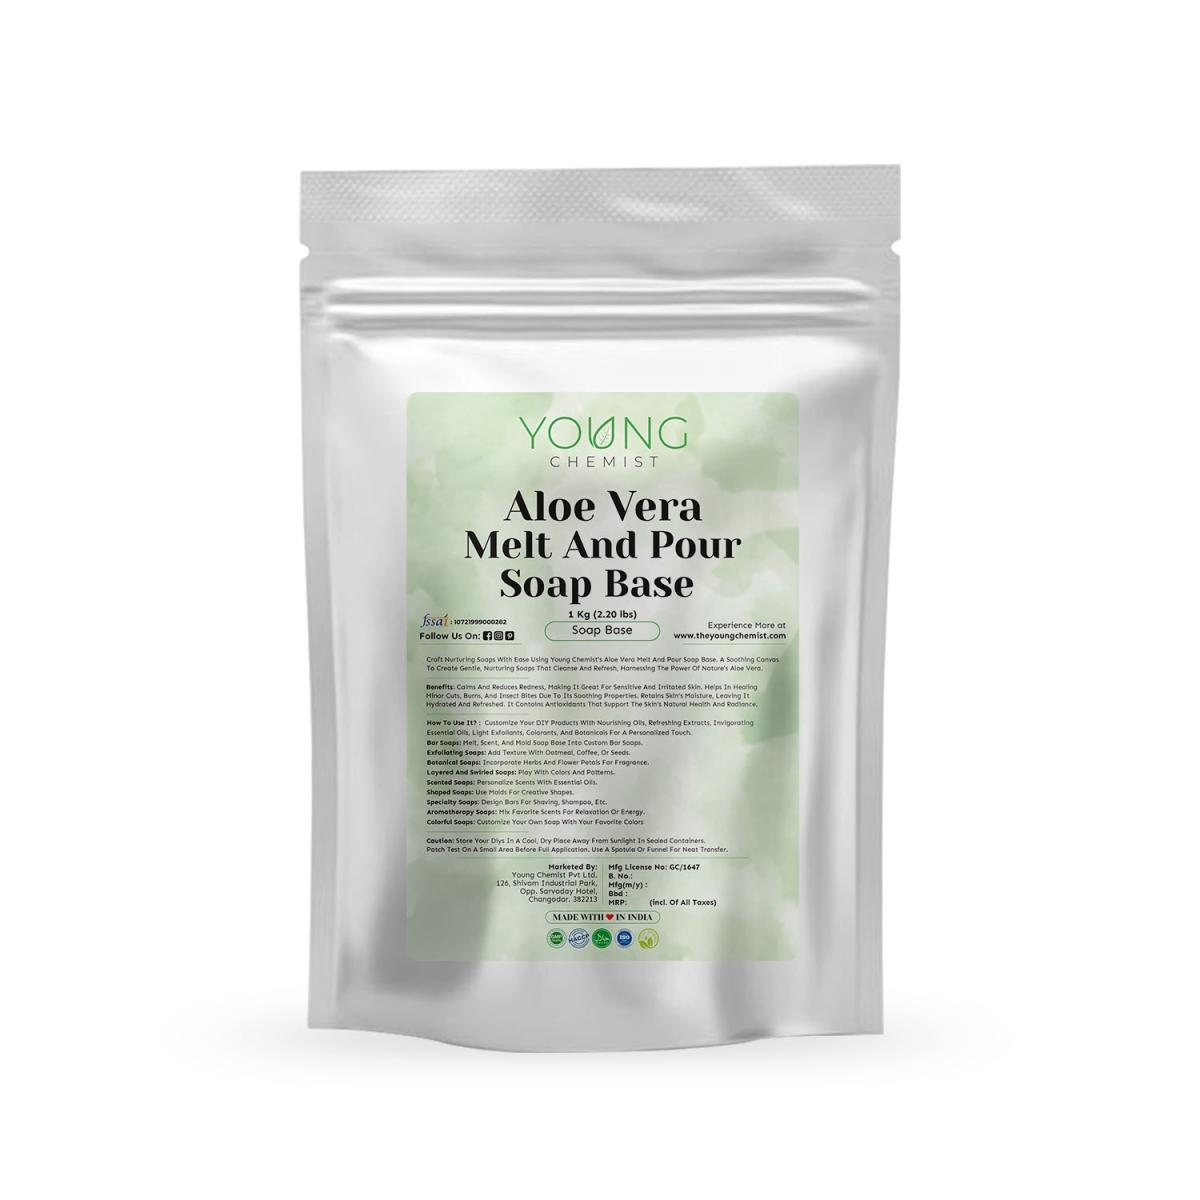
Aloe Vera Melt & Pour Soap Base is a natural and moisturizing soap base that is perfect for making handmade soap. It is made with pure aloe vera gel, which is known for its skin-soothing and moisturizing properties. Aloe Vera Soap Base is easy to use and can be customized with your favorite colors, fragrances, and essential oils.
DESCRIPTION
The Aloe Vera Melt & Pour Soap Base is a premium, ready-to-use soap base infused with the natural goodness of Aloe Vera. It is a versatile and convenient option for crafting your own soaps without the need for complex soap-making processes. This handmade soap base is carefully formulated to ensure a gentle and nourishing cleansing experience for your skin.
BENEFITS
1. Moisturizing: Aloe Vera is renowned for its excellent moisturizing properties. The soap base helps to retain moisture on the skin, keeping it hydrated and supple.
2. Soothing: Aloe Vera has soothing properties that can help calm irritated or sensitive skin, making it suitable for all skin types.
3. Natural Ingredients: The soap base is crafted with natural ingredients, avoiding harsh chemicals that may be present in conventional soaps.
4. Easy to Use: Melt & Pour Soap Bases are user-friendly, requiring no expertise in soap-making. Simply melt, customize, and pour into molds to create your personalized soaps.
HOW TO USE
- Cut the desired amount of Aloe Vera Melt & Pour Soap Base into small chunks.
- Place the chunks in a microwave-safe container or a double boiler.
- Heat the soap base in short intervals, stirring between each one, until it completely melts.
- Once melted, add your preferred colorants, fragrances, or additional skin-loving ingredients like essential oils or exfoliants (if desired).
- Stir gently to combine any additives.
- Pour the mixture into soap molds of your choice.
- Allow the soap to cool and solidify for a few hours or until firm.
- Once fully cooled, gently remove the soap from the molds and it's ready for use!
CAUTIONS
1. Avoid direct contact with eyes. In case of accidental contact, rinse thoroughly with water.
2. Conduct a patch test on a small area of your skin before using the soap to ensure there are no allergic reactions.
3. This product is for external use only. Do not consume or use on broken skin.
4. Keep the soap base away from children and pets to prevent accidental ingestion or misuse.
5. Store the soap base in a cool, dry place, away from direct sunlight.
Remember to follow the guidelines provided by the manufacturer for this specific Aloe Vera Melt & Pour Soap Base, as different brands might have slight variations in usage instructions and safety precautions.
More : https://www.theyoungchemist.com/detail/aloevera-melt-amp-pour-soap-base.html
- Questions and Answers
- Opinion
- Motivational and Inspiring Story
- Technology
- Live and Let live
- Focus
- Geopolitics
- Military-Arms/Equipment
- الحماية
- Economy
- Beasts of Nations
- Machine Tools-The “Mother Industry”
- Art
- Causes
- Crafts
- Dance
- Drinks
- Film/Movie
- Fitness
- Food
- الألعاب
- Gardening
- Health
- الرئيسية
- Literature
- Music
- Networking
- أخرى
- Party
- Religion
- Shopping
- Sports
- Theater
- Health and Wellness
- News
- Culture