
The Ultimate DST Digitizing Checklist for Perfect Embroidery
Introduction
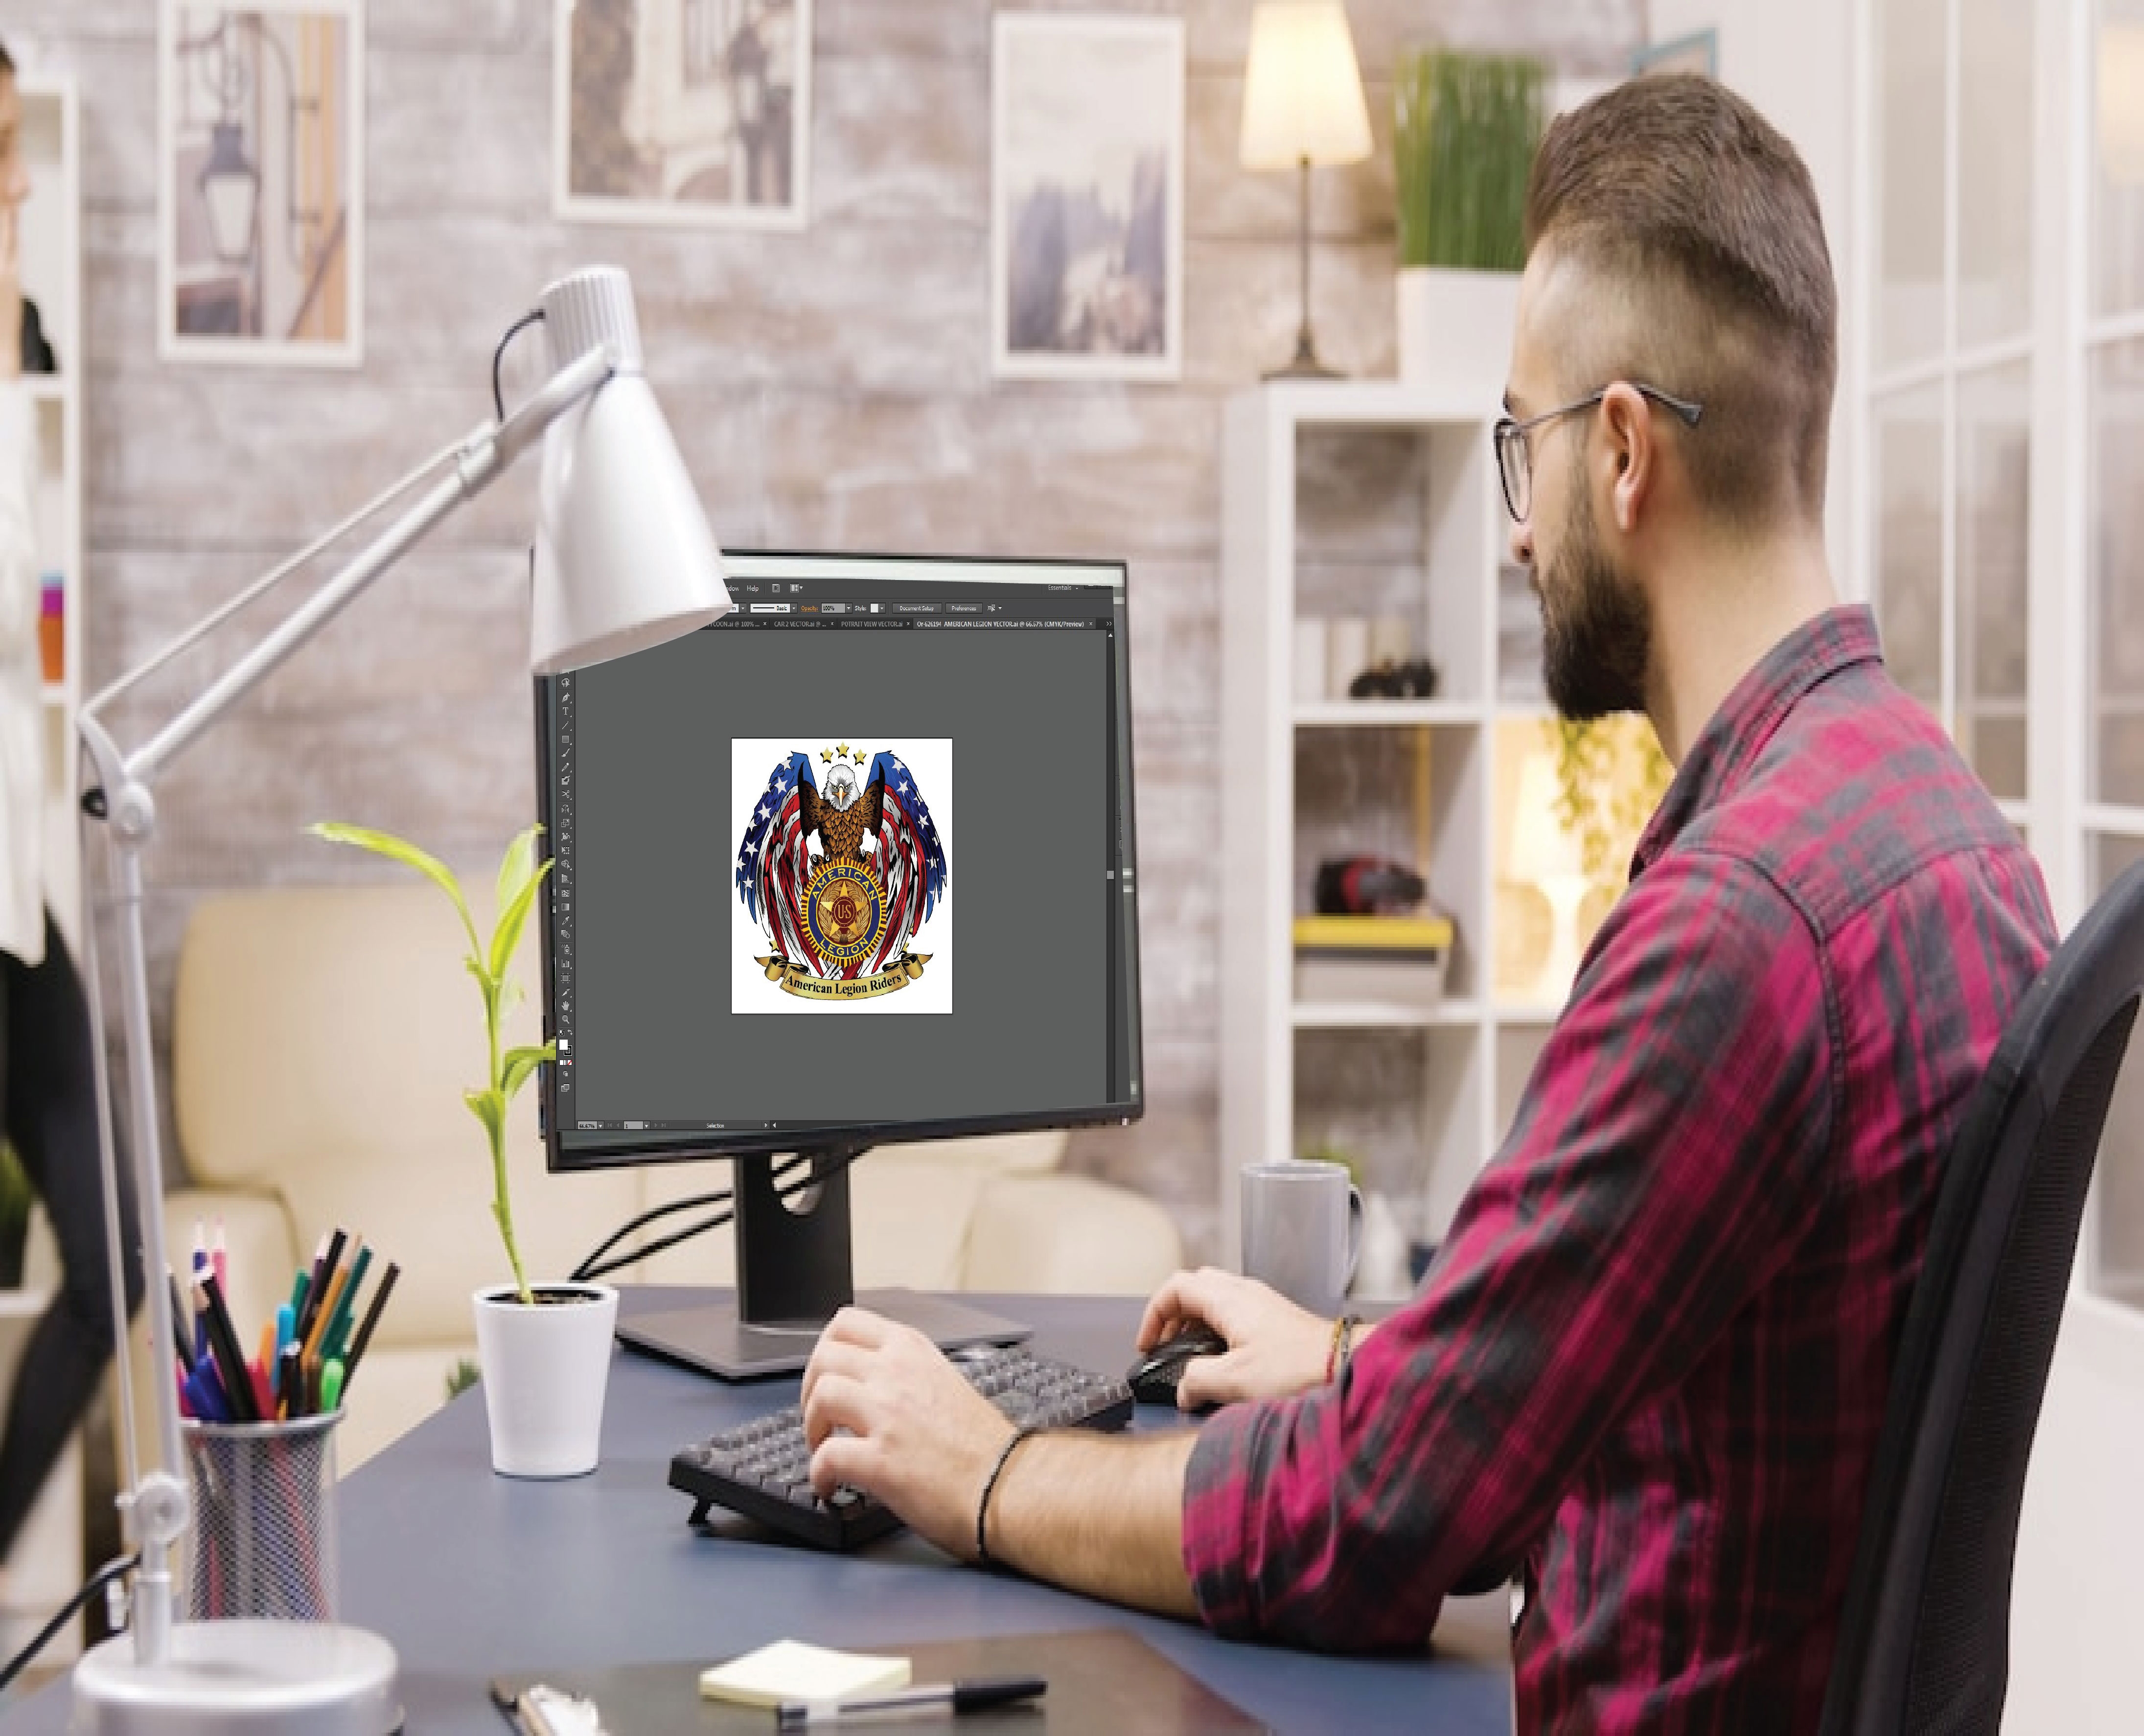
Creating perfect embroidery files in DST format through proper DST digitizing requires more than just technical skill—it demands meticulous attention to detail at every step. Whether you're DST digitizing logos for corporate apparel or intricate designs for custom merchandise, overlooking even one element during the DST digitizing process can lead to costly mistakes like thread breaks, puckered fabric, or misaligned stitches.
This ultimate DST digitizing checklist distills professional workflows into a simple, actionable guide. You'll discover the exact steps embroidery specialists use to prepare, create, and verify DST files through expert DST digitizing that stitch out perfectly on Tajima and other commercial machines.
Pre-Digitizing Preparation
1. Source File Evaluation
✓ Image Quality Check
-
Minimum 300 DPI resolution
-
Clear, high-contrast elements
-
No pixelation at 200% zoom
✓ Design Complexity Assessment
-
Identify areas needing simplification
-
Note critical details to preserve
-
Count colors (ideal: ≤8 for most designs)
✓ Client Specifications Review
-
Required dimensions
-
Placement location
-
Fabric type
-
Special requests
2. Software Setup
✓ Machine Profile Selection
-
Confirm Tajima compatibility
-
Set correct hoop size
-
Load appropriate thread chart
✓ Workspace Configuration
-
Enable stitch visualization
-
Set up color-coding layers
-
Adjust grid/snap settings
Core Digitizing Steps
3. Stitch Type Assignment
✓ Fill Stitches
-
Density: 0.4-0.5mm for most fabrics
-
Direction: Alternating angles
-
Underlay: Zigzag + center run
✓ Satin Stitches
-
Width: 3-5mm (adjust for curves)
-
Pull compensation: +0.1-0.3mm
-
Edge finish: Triple stitch borders
✓ Running Stitches
-
Length: 2-3mm
-
Use for: Fine details, guidelines
4. Path Optimization
✓ Stitch Sequence
-
Dark to light color progression
-
Minimize jumps between elements
-
Group connected components
✓ Trim Placement
-
After color blocks
-
Before direction changes
-
Avoid dense areas
5. Specialty Adjustments
✓ Pull Compensation
-
+0.2mm for standard fabrics
-
+0.3mm for stretchy materials
-
Test on actual fabric
✓ Density Gradients
-
Gradual increases for 3D effects
-
Reduced density on curves
Quality Control Checks
6. Digital Verification
✓ Stitch Simulation
-
Watch for thread breaks
-
Check registration marks
-
Verify trim points
✓ File Metrics Review
-
Total stitch count
-
Color change count
-
Estimated runtime
7. Physical Test Stitch
✓ Stabilizer Selection
-
Cutaway for stretch fabrics
-
Tearaway for stable wovens
-
Topping for textured materials
✓ First Run Inspection
-
Check both sides of fabric
-
Measure dimensions
-
Verify color matching
Advanced Professional Tips
8. Production Optimization
✓ Machine-Specific Tweaks
-
Tajima: Adjust maximum stitch length
-
Barudan: Optimize jump stitches
-
Happy: Modify tie-off settings
✓ Batch Processing
-
Create templates for similar designs
-
Standardize color sequences
-
Build preset libraries
9. Troubleshooting Prep
✓ Common Issue Solutions
-
Puckering: Reduce density 10%
-
Gapping: Add edge run underlay
-
Thread breaks: Check needle size
✓ Client Communication
-
Document all adjustments
-
Save test stitch photos
-
Provide care instructions
File Delivery Standards
10. Final Export Checklist
✓ DST Settings
-
Version: DST v1.0 for compatibility
-
Include original artwork
-
Add production notes
✓ Backup Protocol
-
Cloud storage copy
-
Local hard drive
-
Physical USB backup
Maintenance & Improvement
✓ Software Updates
-
Check for bug fixes quarterly
-
Review new features annually
✓ Skill Development
-
Practice complex designs monthly
-
Attend one training yearly
Conclusion
Perfect DST files require balancing technical precision with artistic judgment. By following this comprehensive checklist—from initial file assessment to final quality control—you'll consistently produce embroidery files that:
-
Stitch out correctly on first run
-
Maximize machine efficiency
-
Minimize material waste
-
Meet client expectations
Remember that even experienced digitizers reference checklists. Keep this guide handy, and don't hesitate to create your own version tailored to your specific machines and common project types.
Your next DST file is an opportunity to apply these professional standards. With careful attention to each step, you'll achieve embroidery results that look as polished as your digital previews—every single time.
- Questions and Answers
- Opinion
- Motivational and Inspiring Story
- Technology
- Live and Let live
- Focus
- Geopolitics
- Military-Arms/Equipment
- Sicurezza
- Economy
- Beasts of Nations
- Machine Tools-The “Mother Industry”
- Art
- Causes
- Crafts
- Dance
- Drinks
- Film/Movie
- Fitness
- Food
- Giochi
- Gardening
- Health
- Home
- Literature
- Music
- Networking
- Altre informazioni
- Party
- Religion
- Shopping
- Sports
- Theater
- Health and Wellness
- News
- Culture