
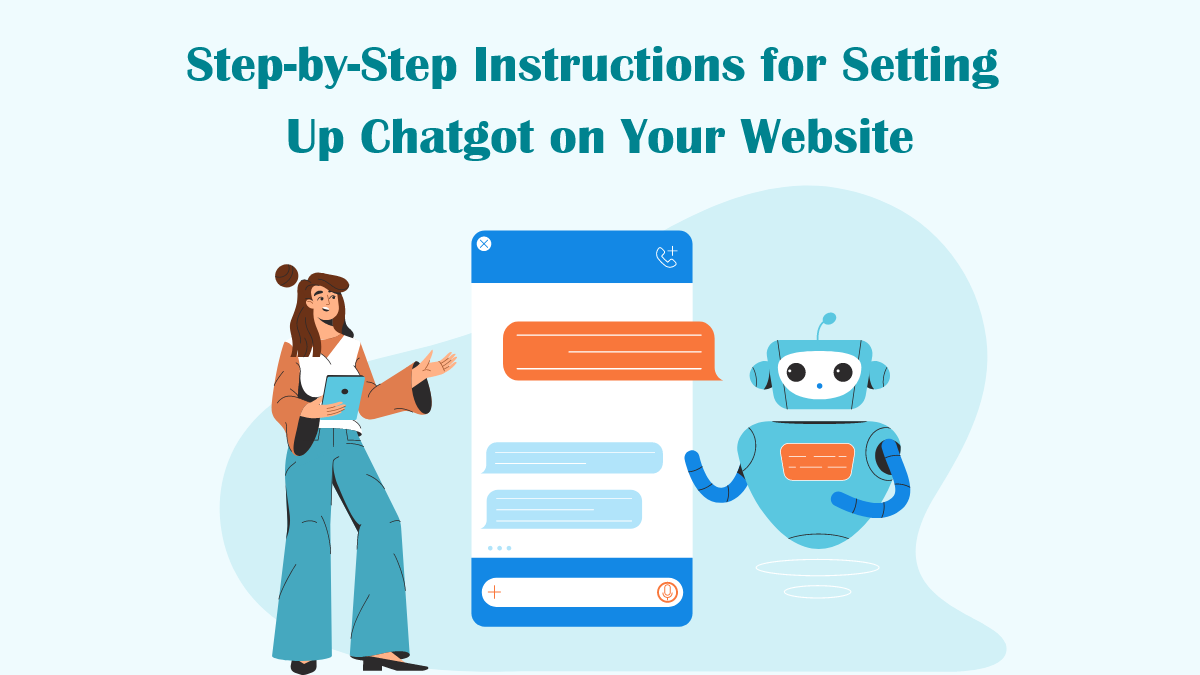
Step-by-Step Instructions for Setting Up Chatgot on Your Website
Integrating Chatgot into your website can significantly enhance user engagement and provide valuable assistance to your visitors. Whether you're looking to add a chatbot for customer service, content generation, or interactive features, setting up Chatgot involves several key steps. This guide will walk you through the process of integrating Chatgot into your website, from initial setup to deployment.
Step 1: Obtain API Access
Before you can integrate Chatgot into your website, you need access to the OpenAI API.
-
Create an OpenAI Account: Visit the OpenAI website and sign up for an account if you don’t have one.
-
API Key: Once logged in, navigate to the API section in your OpenAI dashboard. Here, you can generate an API key, which will be required for authentication when making requests to the Chatgot service.
-
Review Pricing and Usage Limits: Familiarize yourself with the pricing structure and usage limits associated with your API plan. This will help you manage costs and understand the limitations of your API access.
Step 2: Choose Your Integration Method
You can integrate Chatgot into your website using various methods, including direct API calls or third-party plugins. Choose the method that best fits your technical expertise and website platform.
Method 1: Direct API Integration
-
Backend Setup: Set up a backend server to handle API requests. This server will be responsible for communicating with the OpenAI API and processing user inputs.
-
Install Required Libraries: Depending on your backend technology (e.g., Node.js, Python), install the necessary libraries for making HTTP requests. For instance, in Node.js, you might use axios or node-fetch.
-
API Request Configuration: Write code to handle API requests to Chatgot. Use your API key to authenticate the requests and send user inputs to the API.
-
Frontend Integration: Add JavaScript code to your website’s frontend to send user inputs to your backend server and display Chatgot responses. This involves setting up an interface, such as a chatbox, and handling user interactions.
Method 2: Using Third-Party Plugins
-
Select a Plugin: If you’re using a website builder or content management system (CMS) like WordPress, look for a third-party plugin that integrates with Chatgot. Plugins simplify the process by providing pre-built functionality for adding chatbots.
-
Install the Plugin: Follow the installation instructions provided by the plugin developer. Typically, this involves uploading the plugin to your CMS and activating it.
-
Configure the Plugin: Enter your OpenAI API key and configure the plugin settings according to your needs. This may include setting up the appearance of the chat widget, defining chatbot responses, and customizing interactions.
-
Test and Deploy: Thoroughly test the chatbot on your website to ensure it functions as expected. Make any necessary adjustments based on user feedback before making it live.
Step 3: Customize Chatgot Responses
To make Chatgot more useful for your website visitors, customize its responses:
-
Define Prompts and Instructions: Tailor the prompts and instructions you send to Chatgot to align with your website’s goals. For example, if you’re setting up a customer support chatbot, include instructions for handling common queries.
-
Pre-Processing Inputs: Implement logic to pre-process user inputs before sending them to Chatgot. This can help filter out irrelevant or inappropriate content and ensure that the chatbot provides relevant responses.
Step 4: Monitor and Optimize
After integrating Chatgot into your website, continuous monitoring and optimization are crucial:
-
Monitor Performance: Use analytics tools to track chatbot performance, including user interactions, response accuracy, and engagement metrics. This data will help you understand how well the chatbot is performing and identify areas for improvement.
-
Gather Feedback: Collect feedback from users to gauge their satisfaction with the chatbot. Use this feedback to make iterative improvements and refine the chatbot’s functionality.
Conclusion
Setting up Chatgot on your website involves several steps, from obtaining API access to customizing responses and monitoring performance. By following this guide, you can successfully integrate Chatgot into your website, enhancing user engagement and providing valuable assistance to your visitors. Whether you choose direct API integration or a third-party plugin, ensure that you thoroughly test and optimize the chatbot to deliver the best possible experience for your users.
- Questions and Answers
- Opinion
- Motivational and Inspiring Story
- Technology
- Live and Let live
- Focus
- Geopolitics
- Military-Arms/Equipment
- Безопасность
- Economy
- Beasts of Nations
- Machine Tools-The “Mother Industry”
- Art
- Causes
- Crafts
- Dance
- Drinks
- Film/Movie
- Fitness
- Food
- Игры
- Gardening
- Health
- Главная
- Literature
- Music
- Networking
- Другое
- Party
- Religion
- Shopping
- Sports
- Theater
- Health and Wellness
- News
- Culture